Mastering the Art of Making a Valentine’s Day Card in Photoshop
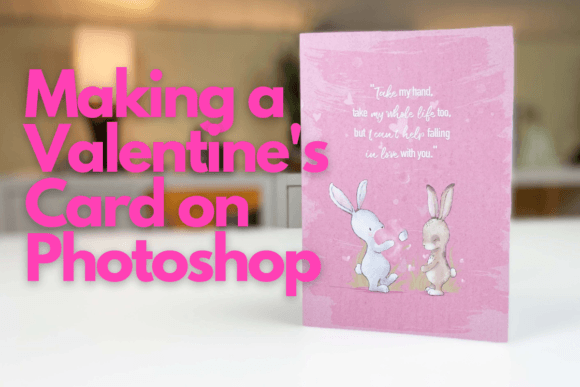
Valentine’s Day is often reduced to a single date on the calendar, but genuine affection deserves more than a twenty-four-hour spotlight. The sentiment that you cannot just say "I love you" on Valentine’s Day but rather throughout the entire year is best expressed through thoughtful, tangible gestures. One of the most impactful ways to communicate this enduring commitment is by making a Valentine’s Day card in Photoshop that feels personal, professional, and timeless. While digital greetings are convenient, a physically printed card carries weight and texture that pixels alone cannot replicate. However, transitioning from a screen-based design to a high-quality print requires more than just placing text over an image.
In this guide, we explore how graphic designer Monja approaches this creative process, teaching you not only the technical skills but also the design philosophy needed to create a layered, textured masterpiece. Whether you are a beginner looking to impress a partner or a small business owner aiming to elevate your brand’s holiday marketing, understanding the nuances of digital design for print is crucial.
The Trap of Digital-Only Thinking
A common mistake many creators make when starting out is designing exclusively for screens. We are accustomed to viewing images on backlit displays where colors pop and resolution issues are often masked by pixel density. When you are making a Valentine’s Day card in Photoshop, failing to account for the physical medium can lead to disappointing results. A design that looks vibrant on your monitor may appear dull, muddy, or pixelated once printed.
This oversight affects both the aesthetic quality and the perceived value of your gift or product. If you are an entrepreneur selling handmade goods, a poorly printed card can undermine the premium nature of your offerings. For individuals, it diminishes the emotional impact of the gesture. To avoid this, you must understand the importance of setting up your document correctly from the start. Monja emphasizes creating your card in the right size immediately, ensuring that the dimensions match standard printing requirements rather than arbitrary screen resolutions.
Layering: More Than Just Stacking Images
Another frequent misunderstanding involves the use of layers. Beginners often treat layers as simple stacks, placing elements on top of one another without considering how they interact. This approach results in flat, uninteresting compositions that lack depth. When you are learning how to put your card together, layering all the elements and backgrounds requires a strategic eye for hierarchy and spatial relationships.
Monja guides students through the process of adding depth with the right shadowing. This is not about applying generic drop shadows from a preset menu, which often look artificial and dated. Instead, it involves analyzing light sources and creating subtle gradients that mimic how light interacts with paper and ink. By mastering these techniques, you transform a two-dimensional arrangement into a piece that feels tactile and organic. This attention to detail distinguishes a amateur effort from a professional-grade design, enhancing communication and satisfaction for the recipient.
The Critical Role of Texture
Perhaps the most overlooked detail in digital design is texture. Screens are smooth; paper is not. If you ignore this difference, your final print will feel disconnected from the visual experience. Adding texture is essential to have it all set for printing. It bridges the gap between the digital file and the physical object, giving the card character and warmth.
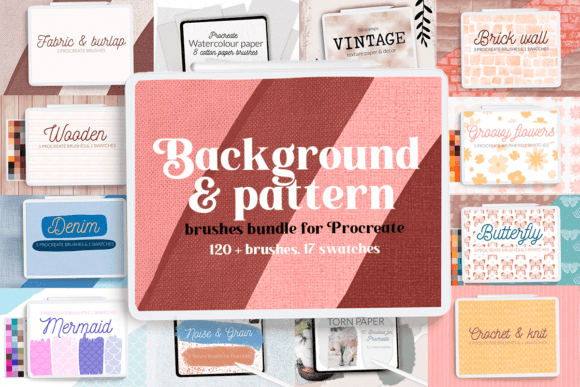
Many designers hesitate to incorporate textures because they fear cluttering the design. However, when used correctly, textures like grain, watercolor washes, or paper fibers add sophistication. In Monja’s class, you will learn how to blend these elements seamlessly. The course includes specific brushes and paper textures for you to download, available in the second session. These resources are curated to ensure they complement rather than overpower your imagery. Using high-quality assets prevents the "cheap" look that often plagues DIY designs, ensuring your card stands out for its craftsmanship.
Choosing the Right Content: Quotes and Imagery
While technical skills are vital, the content you choose defines the emotional resonance of your card. You can use whatever images and quotes you prefer, but selection matters. A common pitfall is choosing cliché phrases or low-resolution stock images that lack authenticity. Since the goal is to express love throughout the year, the imagery should reflect shared memories or genuine sentiments rather than generic symbols.
Monja encourages students to think critically about their choices. Are the quotes meaningful? Do the images align with the recipient’s tastes? For marketers and bloggers, this means aligning the visual style with brand voice. For individuals, it means selecting photos that evoke specific memories. By integrating personalized quotes with custom typography, you create a narrative within the card. This level of customization ensures that the message feels unique and heartfelt, avoiding the impersonal feel of mass-produced greeting cards.
Practical Steps for Success
To ensure your project is successful, consider the following checklist before you begin exporting your file:
- Check Resolution: Ensure your document is set to 300 DPI (dots per inch) for crisp printing.
- Verify Color Mode: Switch from RGB (screen) to CMYK (print) to prevent color shifts during production.
- Review Bleed Areas: If your design goes to the edge, include extra space to account for cutting errors.
- Test Print: Always print a prototype on similar paper stock to check colors and texture visibility.
By following these steps and leveraging the guidance provided in Monja’s class, you avoid costly reprints and ensure a polished final product. The ability to control every aspect of the design—from the initial layout to the final texture overlay—empowers you to create something truly special.
Elevating Your Creative Practice
Ultimately, making a Valentine’s Day card in Photoshop is about more than just completing a task; it is about developing a skill set that applies to various creative endeavors. Whether you are a freelancer expanding your service offerings, an educator teaching digital literacy, or a hobbyist exploring new mediums, the principles of layering, texturing, and print preparation are universally valuable.
Monja’s approach demystifies these processes, making them accessible to adults aged 20–50 regardless of prior experience. By focusing on practical application and correcting common misconceptions, the class provides a solid foundation for future projects. You learn not just how to make a card, but how to think like a designer. This shift in perspective enhances efficiency, improves quality, and increases overall satisfaction with your creative output.
Do not let technical barriers prevent you from expressing your feelings effectively. With the right tools, knowledge, and resources, you can create a Valentine’s card that serves as a lasting testament to your affection, ready to be cherished long after the holiday has passed. Start by downloading the provided brushes and textures, and begin experimenting with layers today. Your journey toward professional-quality design begins with a single, well-placed element.